
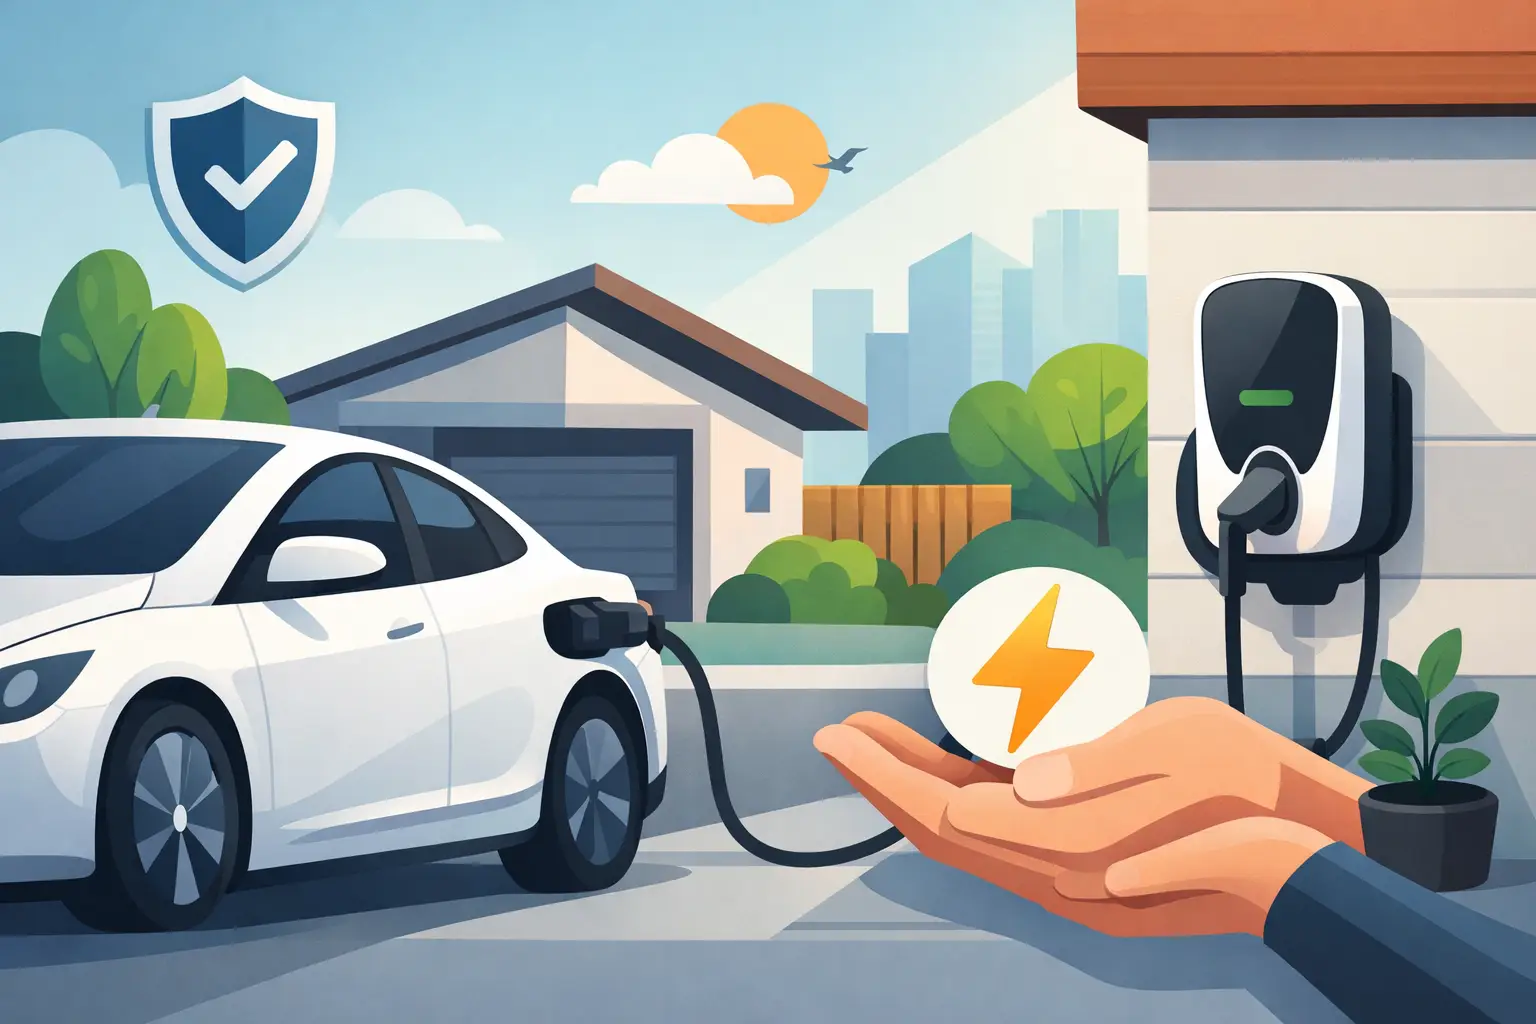
A home charger changes the everyday experience of owning an electric vehicle. Instead of planning trips around public charging points, you come home, plug in, and wake up with the range you need. But learning how to install ev charger equipment properly is about more than mounting a box on the garage wall. The charger, cable route, electrical panel, vehicle, and local requirements all need to work together safely.
For most homes, a professionally installed Level 2 charger is the sensible answer. It is faster than a standard household outlet, more convenient for regular driving, and designed for the electrical demand of charging an EV over several hours. The right installation should feel simple once it is finished, but the planning behind it matters.
How to Install an EV Charger: Start With the Right Setup
First, choose the charging unit and location before any electrical work begins. The equipment is often called an EV charger, although it is technically the charging station that safely supplies power to the vehicle.
A Level 1 charger uses a regular 120-volt outlet. It can suit someone who drives short distances and has plenty of time to charge, but it is usually slow. A Level 2 charger runs on a dedicated 240-volt circuit and is the more practical option for most homeowners. Depending on the vehicle and charger, it can add a useful amount of range overnight.
The best unit depends on your car, mileage, parking arrangement, and budget. There is little point paying for the highest-output charger if your vehicle cannot accept that rate or your electrical service would need expensive upgrades to support it. A good electrician will help you match the charger to the property rather than sell you more power than you need.
You will also need to decide between a hardwired charger and a plug-in model. Hardwired units can provide a tidy, permanent installation and may allow higher charging output. Plug-in chargers offer flexibility, but the receptacle, circuit, and outlet quality still need to be suitable for the continuous load. This is not a job for an extension cord or a convenient outlet that happens to be nearby.
Check Your Home’s Electrical Capacity First
The most important part of an EV charger installation is often hidden inside the electrical panel. An electrician needs to confirm that the existing service and panel can safely handle the additional demand. Empty breaker spaces alone do not prove there is enough capacity.
An EV charger is treated as a continuous load because it can run for hours at a time. As a general example, a charger set to draw 32 amps usually needs a 40-amp circuit, while a 40-amp charger generally needs a 50-amp circuit. The final circuit size must follow the charger manufacturer’s instructions and the electrical code that applies where you live.
A proper assessment looks at the size of the service, the age and condition of the panel, existing appliances, electric heating or air conditioning, and anticipated future loads. If the panel is already working close to its limit, the answer might be a service upgrade, a panel upgrade, a lower-output charger, or load-management equipment. Each option has a different cost, so honest advice at this stage can prevent a surprise later.
Older homes deserve particular care. Signs such as frequent breaker trips, a dated fuse box, damaged wiring, or a panel with no spare capacity should be addressed before adding a high-demand charger. Charging an EV should not expose an existing electrical issue that has been waiting to cause trouble.
Choose a Location That Works Every Day
The ideal charging location is close enough to the vehicle that the cable reaches comfortably without being stretched across a walkway, driveway, or door. It should also allow the connector to be stored neatly when it is not in use.
Many homeowners choose an inside garage wall, while others need an exterior wall or a post near the driveway. Outdoor charging stations must be rated for outdoor use, fitted securely, and supplied with wiring methods suitable for the weather and physical damage. The cable route may run through a garage, basement, crawlspace, attic, or exterior conduit. A shorter route can reduce labor and material costs, but safety and a clean finish matter more than chasing the absolute shortest path.
Think ahead as well. If you may replace your vehicle, add a second EV, renovate the garage, or move parking spaces, mention it during the quote. Installing a correctly sized conduit or allowing capacity for a future circuit can be far easier now than reopening finished walls later.
Permits, Codes, and Professional Installation
Electrical permits and inspections are not paperwork for paperwork’s sake. They provide a check that the circuit, wiring, grounding, protection devices, and installed equipment are appropriate for the job. Requirements vary by city, county, and local authority, so an experienced local electrician can advise on what is needed before work starts.
A professional installation normally includes assessing the electrical system, calculating the required load, fitting a dedicated breaker and correctly sized cable, installing the charger or receptacle, and testing the completed circuit. The electrician should also confirm that the charging unit is configured to the correct maximum current for the circuit.
Avoid the temptation to install a larger breaker to stop nuisance trips or to make a charger run faster. Breakers protect the wiring in the walls, not just the equipment you can see. Incorrect sizing can allow a cable to overheat before the breaker trips, which is a serious fire risk.
The same applies to bargain outlets and loosely fitted connections. EV charging places sustained demand on the circuit, so workmanship and quality components are worth paying for. The job should be done properly the first time, with clear communication about what work is included and what the final setup will look like.
Understand What Affects the Cost
There is no honest one-price answer to home EV charger installation. A straightforward garage installation with available panel capacity and a short cable route will generally cost less than an exterior charger on a detached garage with a long underground run.
The main cost factors are the charger itself, distance from the electrical panel, circuit rating, wall or ground work, outdoor protection, permit fees, and whether the panel or electrical service needs upgrading. A free, detailed quote should explain these points in plain language rather than leave you guessing about extras.
It can also be worth checking whether your utility company offers time-of-use electricity rates or incentives for off-peak charging. Charging overnight may reduce running costs, especially if the charger has scheduling features or your vehicle lets you set a charging window.
Use Your Charger Safely After Installation
Once installed, keep the charging cable in good condition and inspect it occasionally for damage, loose fittings, or signs of overheating. Do not use adaptors or extension leads unless they are specifically approved for the equipment and installation. If a breaker trips repeatedly, the charger loses power, or the outlet feels warm, stop using it and arrange for an electrician to investigate.
Most drivers will find that charging to a daily limit overnight is easier on the battery and more convenient than constantly topping up at public stations. Set the schedule, park up, and let the system do its job.
A well-planned home charger is not just another electrical accessory. It is a practical part of how you use your vehicle every day, and having it installed safely gives you one less thing to think about each time you get behind the wheel.